Work Weeks 43 & 44: Of Wood & Wax
Hi friends! It’s been a fortnight and a day, and I apologize for the late post, but I was so busy enjoying the beautiful weather outside yesterday and getting things accomplished that I never managed to write. I mostly worked at the farm, but I did stuff here too, of course! I put in my daily round of door sanding/varnishing, and Kevin and I also tidied up out back as best as we could for now. We even have a fancy floral arrangement (thanks Keely!), so are we bougie construction folks, or what?

Before I get further, I promised you a picture of the commercial kitchen space! So here is that particular before and after set:

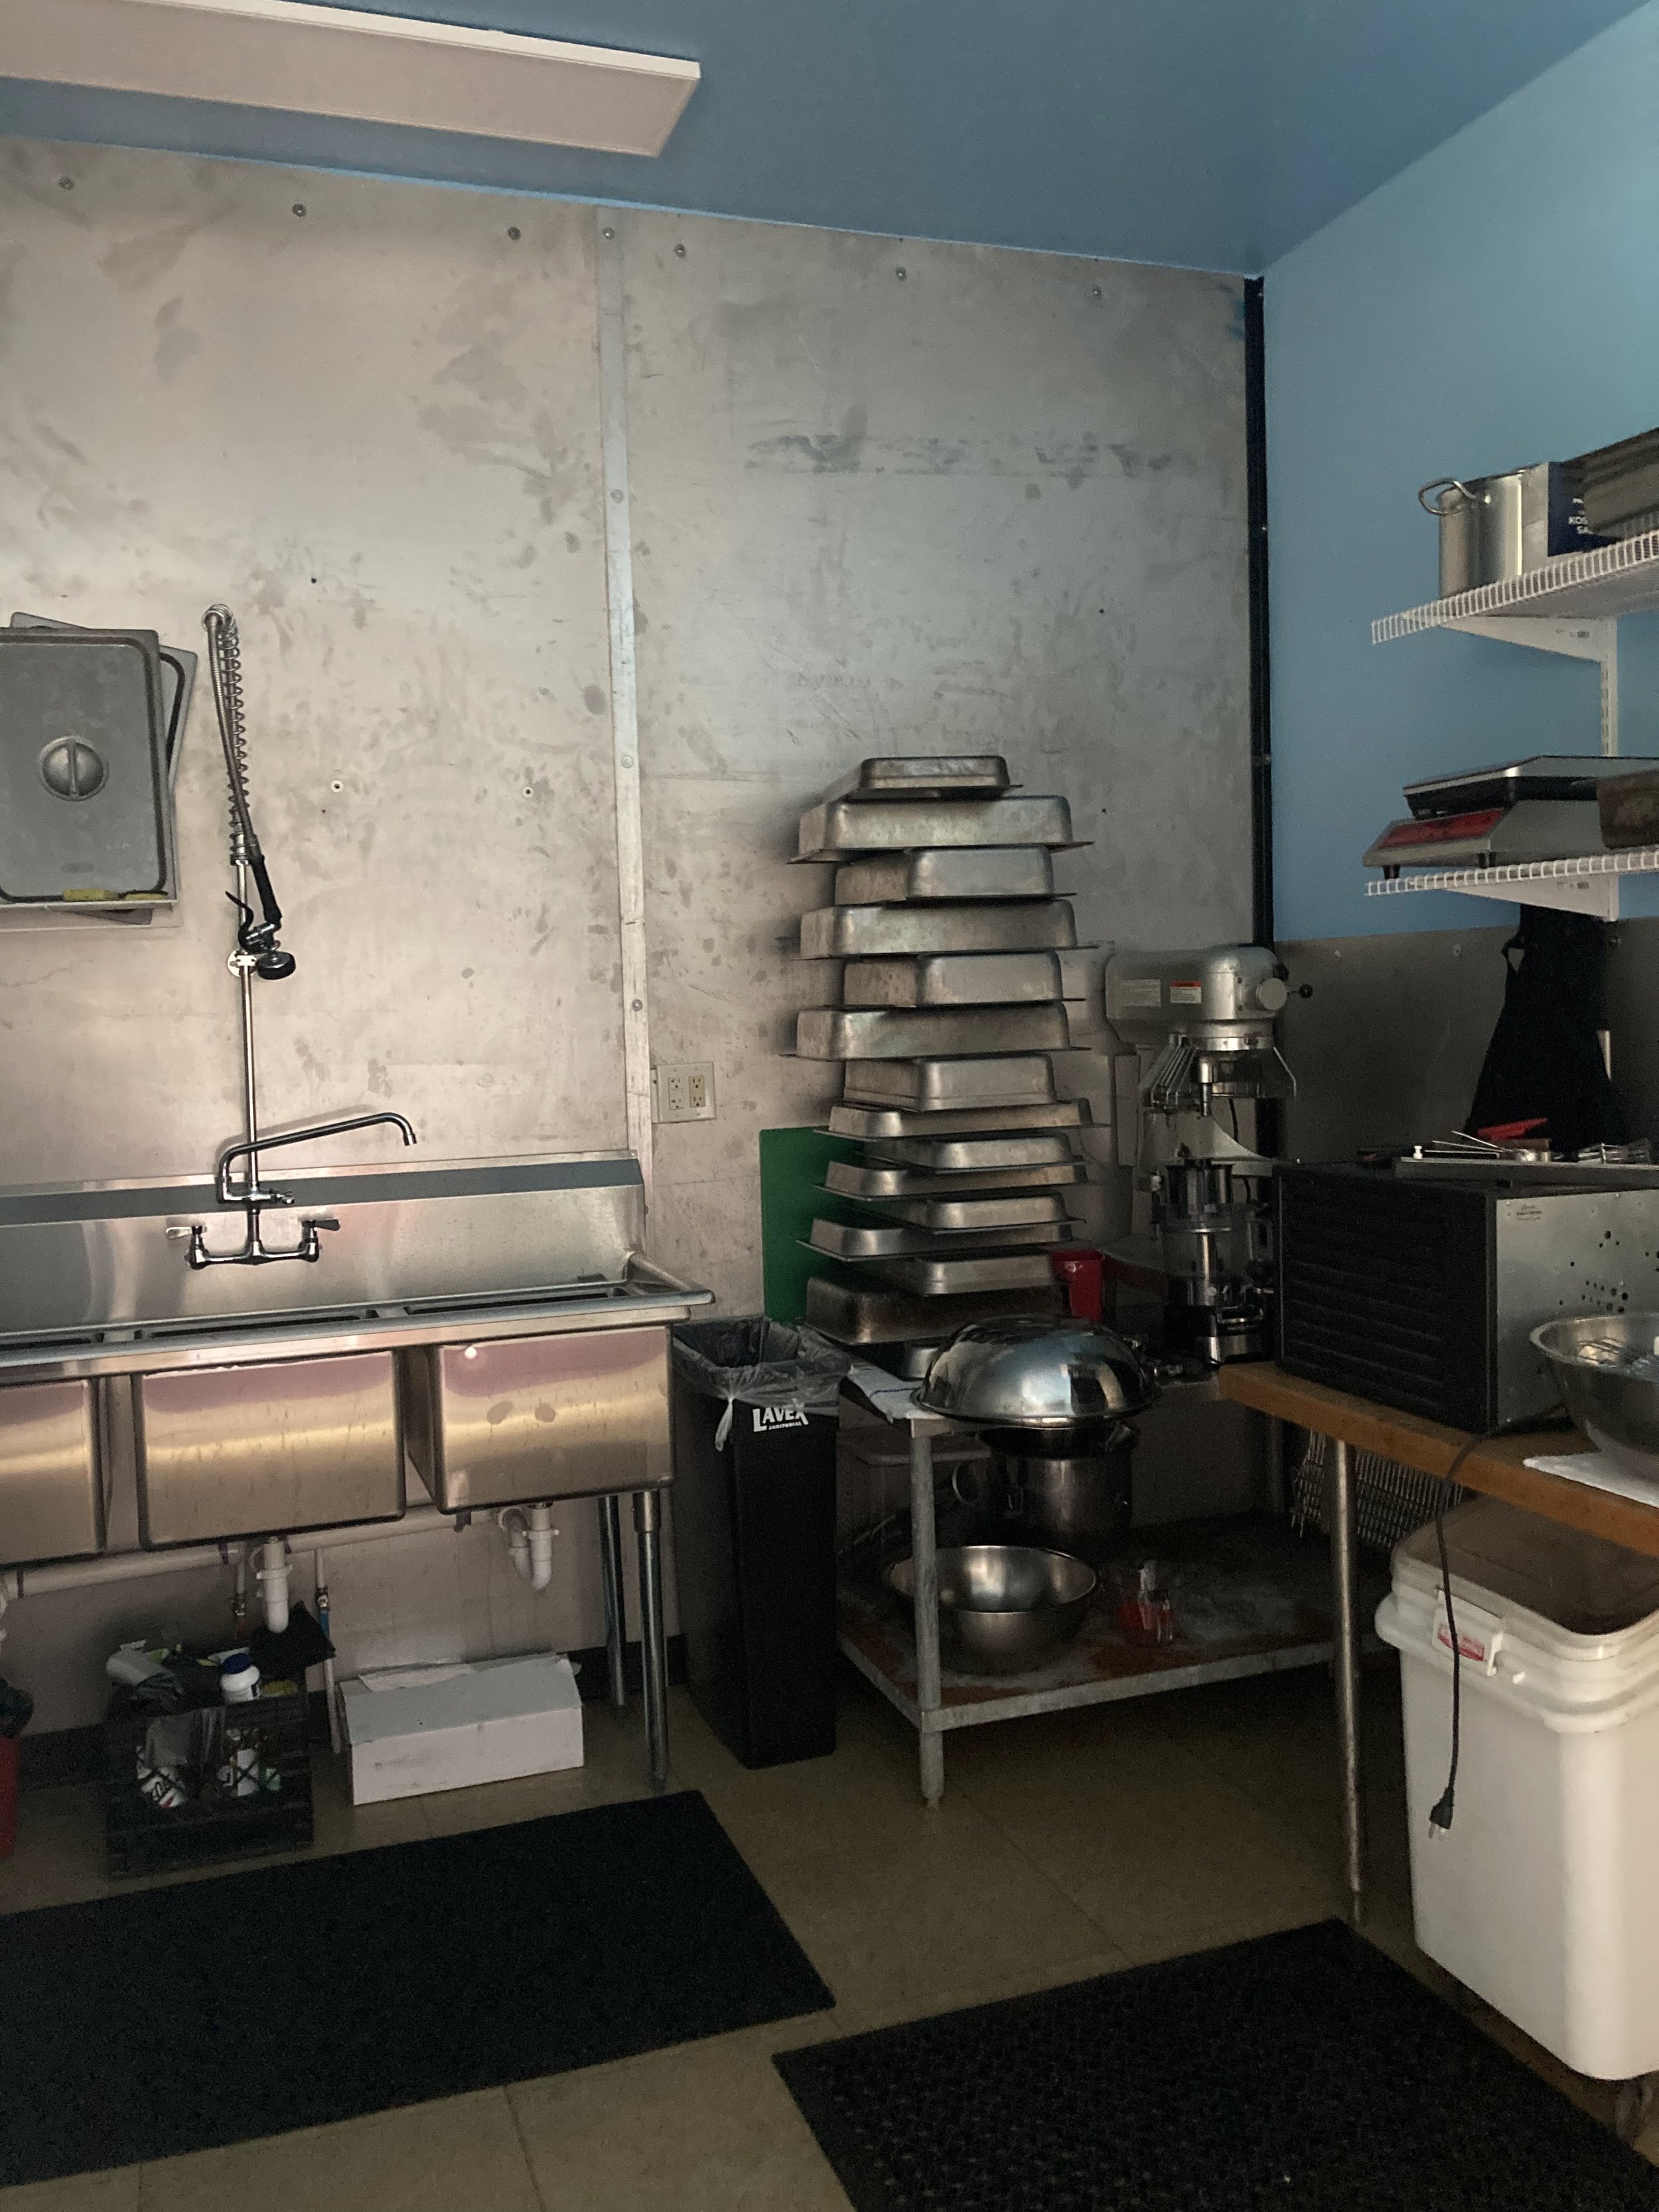
Now that it is full of equipment, it is super tricky to photograph, so I’m sorry I don’t have a better after pic for you! I do want to show you the awesome plaster walls though (this is the wall on the right in the first picture):

Colleen did some awesome italian wax thing, and it makes them impervious to water, not to mention lustery and gorgeous! The old glue marks from the tongue and groove and the repaired plaster spots just add to the ambiance. Go Colleen!
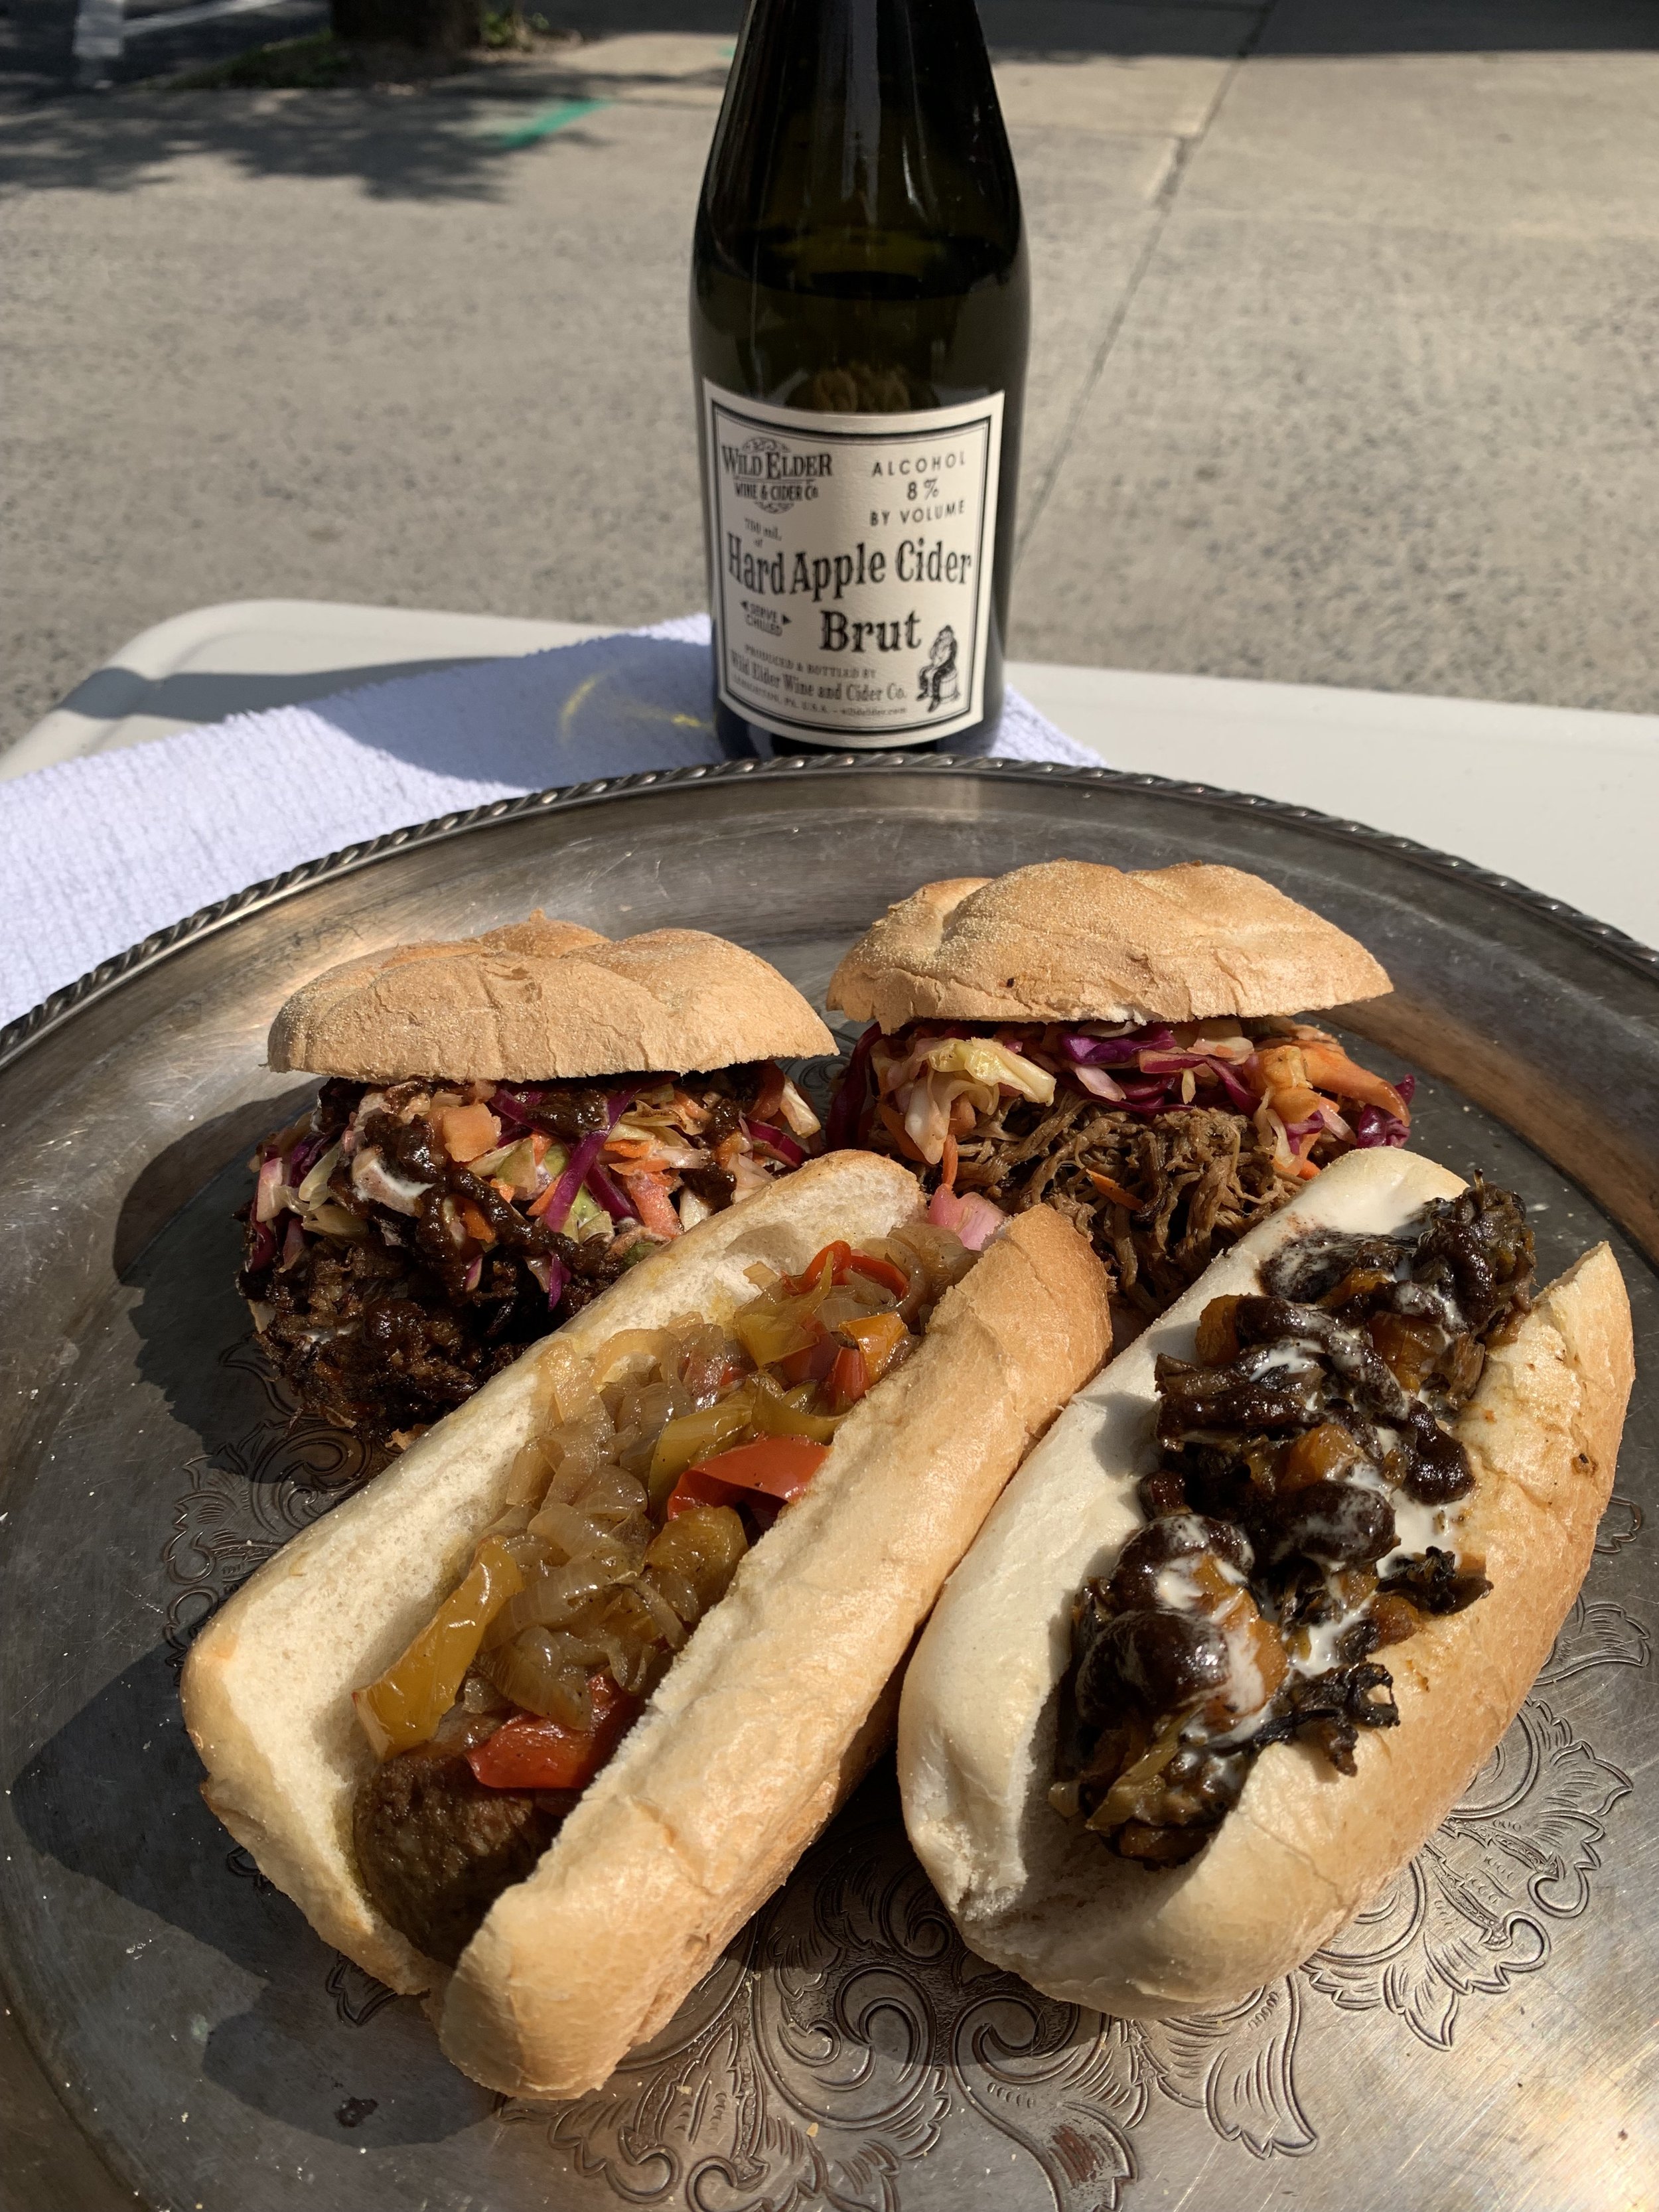
Oh and here’s the other great thing about the commercial kitchen: It’s now the prep space for Heart & Hearth BBQ, Colleen and Jim’s awesome new stand in Jim Thorpe! You can catch them in the old YMCA building parking lot on Broadway Friday-Sunday, 12-7ish, for some incredible BBQ, sausage sandwiches, and other hearty food!

Yay for more yummy food options in JT! And now, back to the rest of the house!
Some of the effort these past two weeks was dedicated to keeping the outside painting & staining projects moving along. Kevin sanded all the deck railing posts, and I then primed and painted them all. If all goes according to plan, the supplies to finish that will be in and installed by next time I write! But we also focused a bunch of energy into improving our own apartment, including installing an old cabinet we had at the farm in our new kitchen.

It’s great, right? It hung in our house in Vera Cruz, PA, when I was a teenager, but before that I have no idea where it came from. (Mom, care to comment?) We did some other rearranging to make the space work a little better for us, and we are still plugging along at bringing the remainder of our house “stuff” home from the farm, where it’s been since last July. It’s amazing how much you can purge, yet still somehow STILL have too much stuff! One of the biggest piles for us was all our books, so Kevin built us this really cool bookshelf!
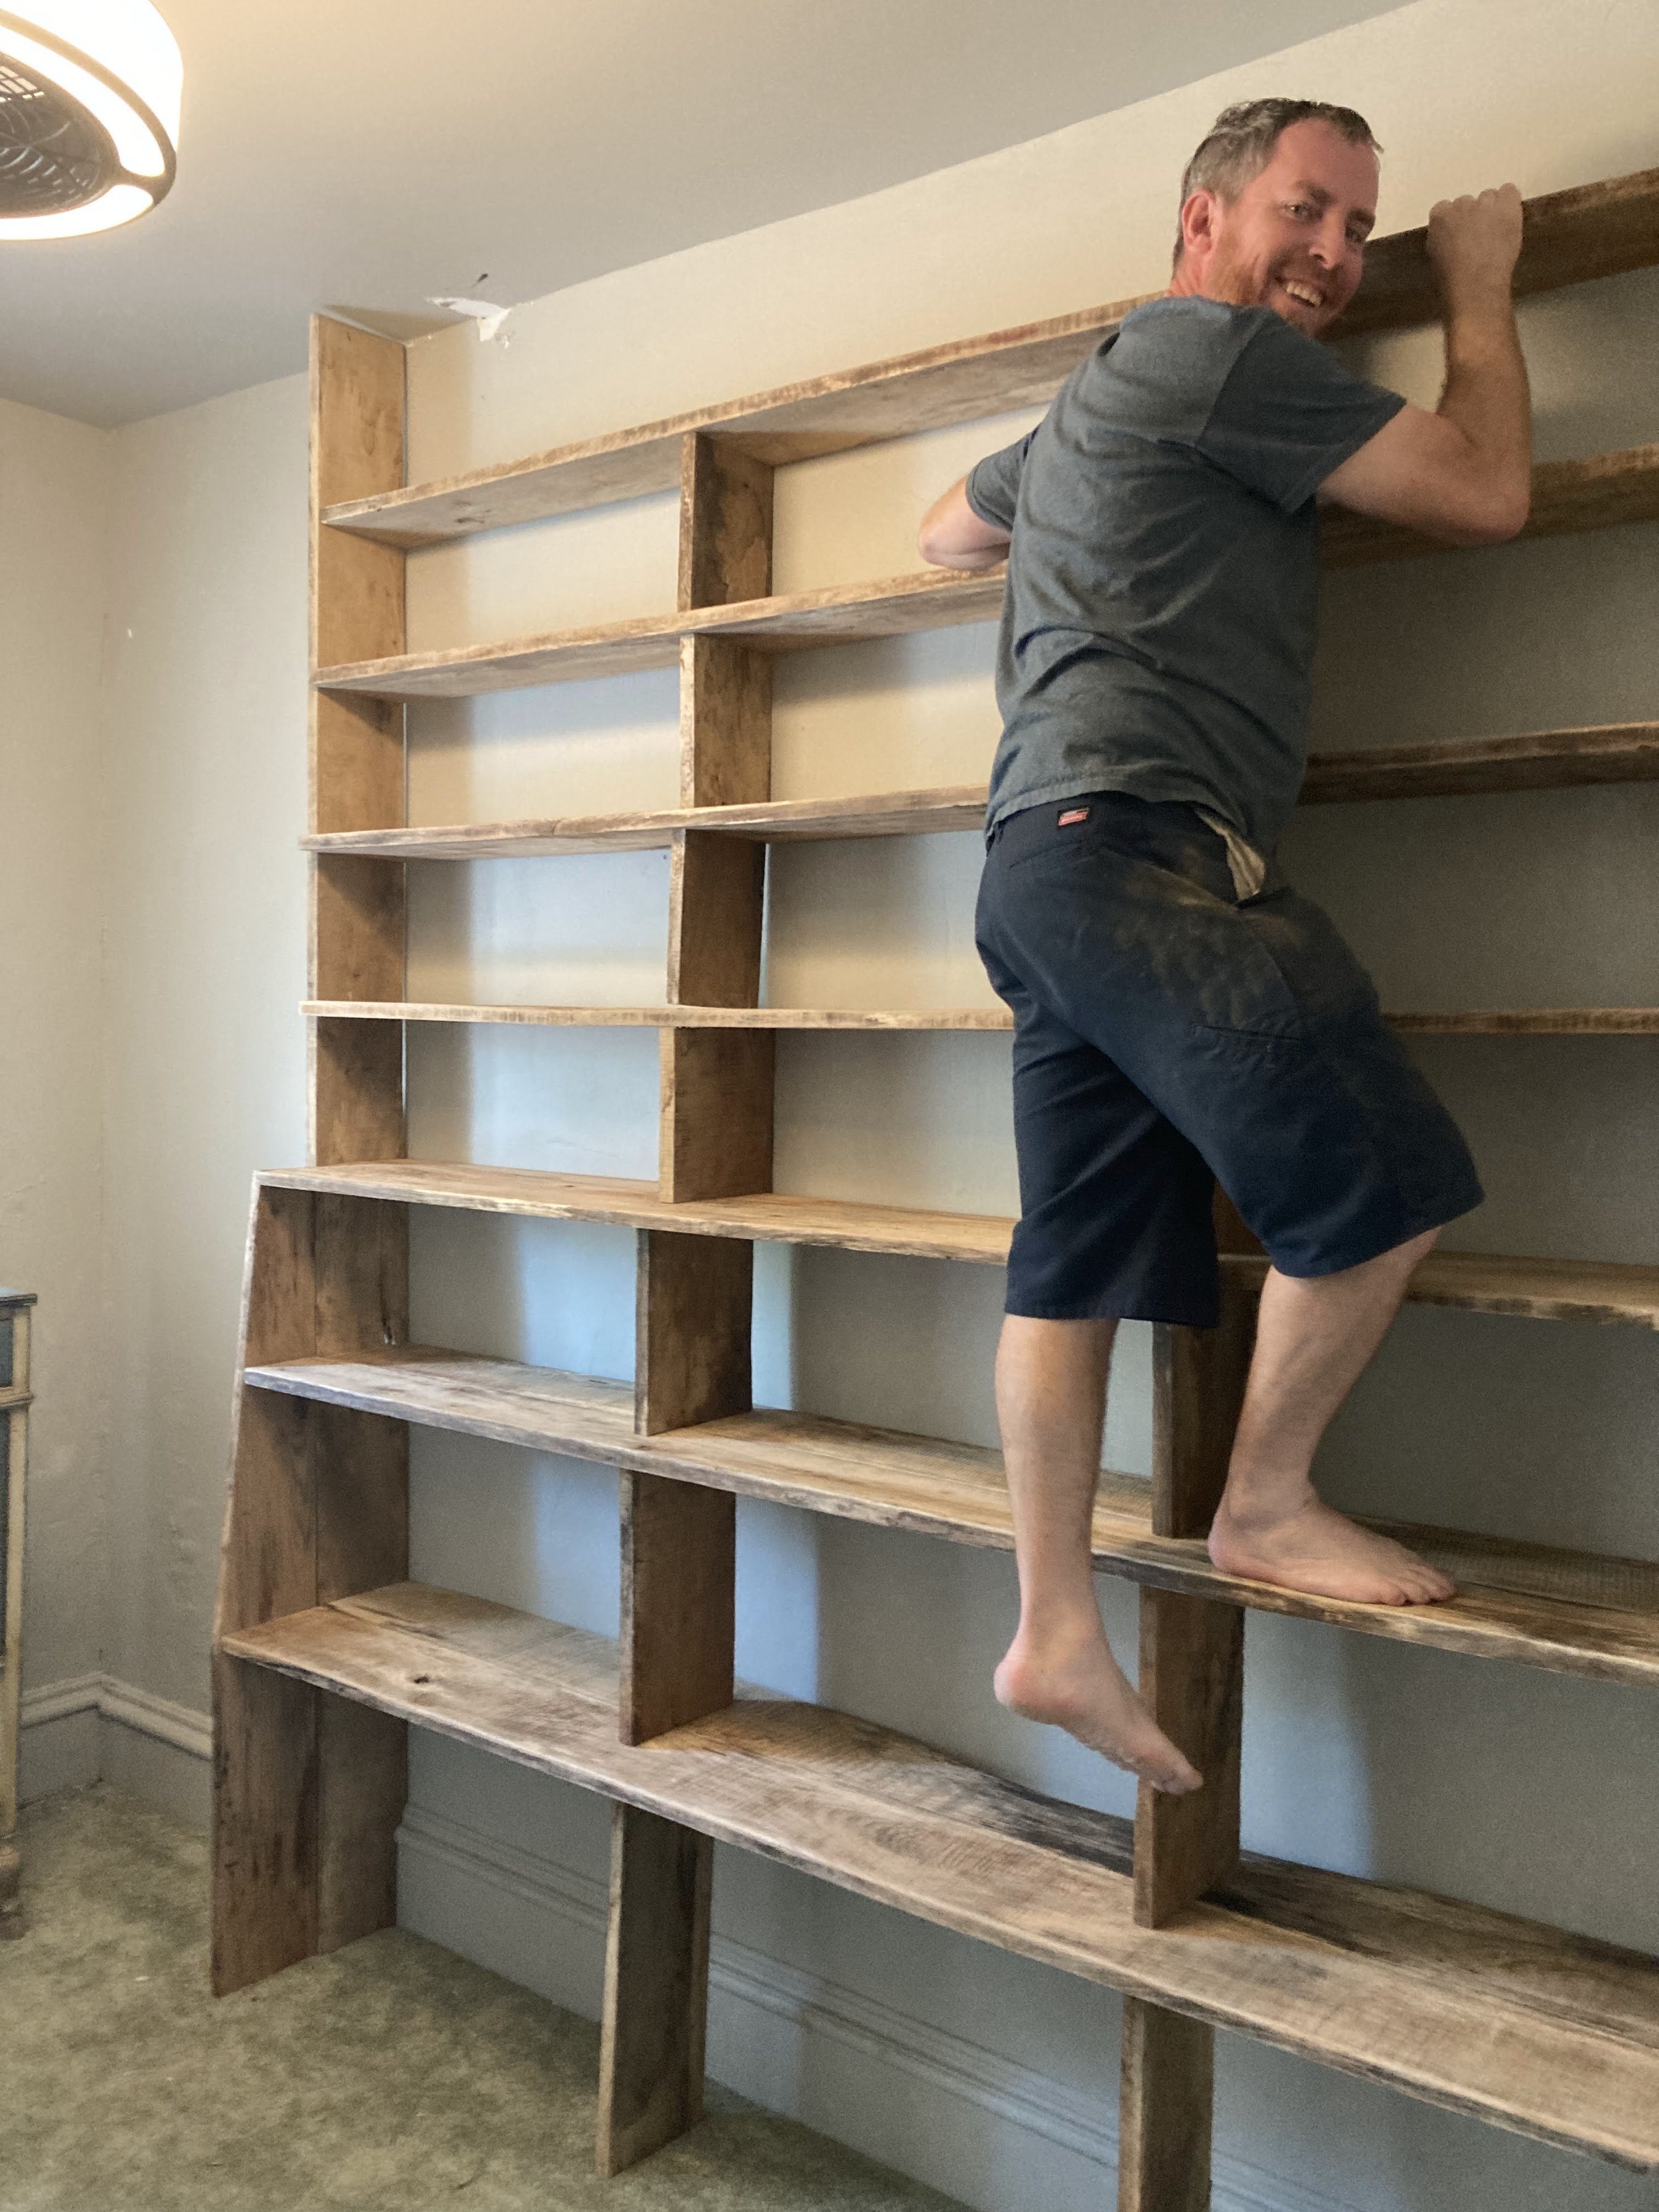
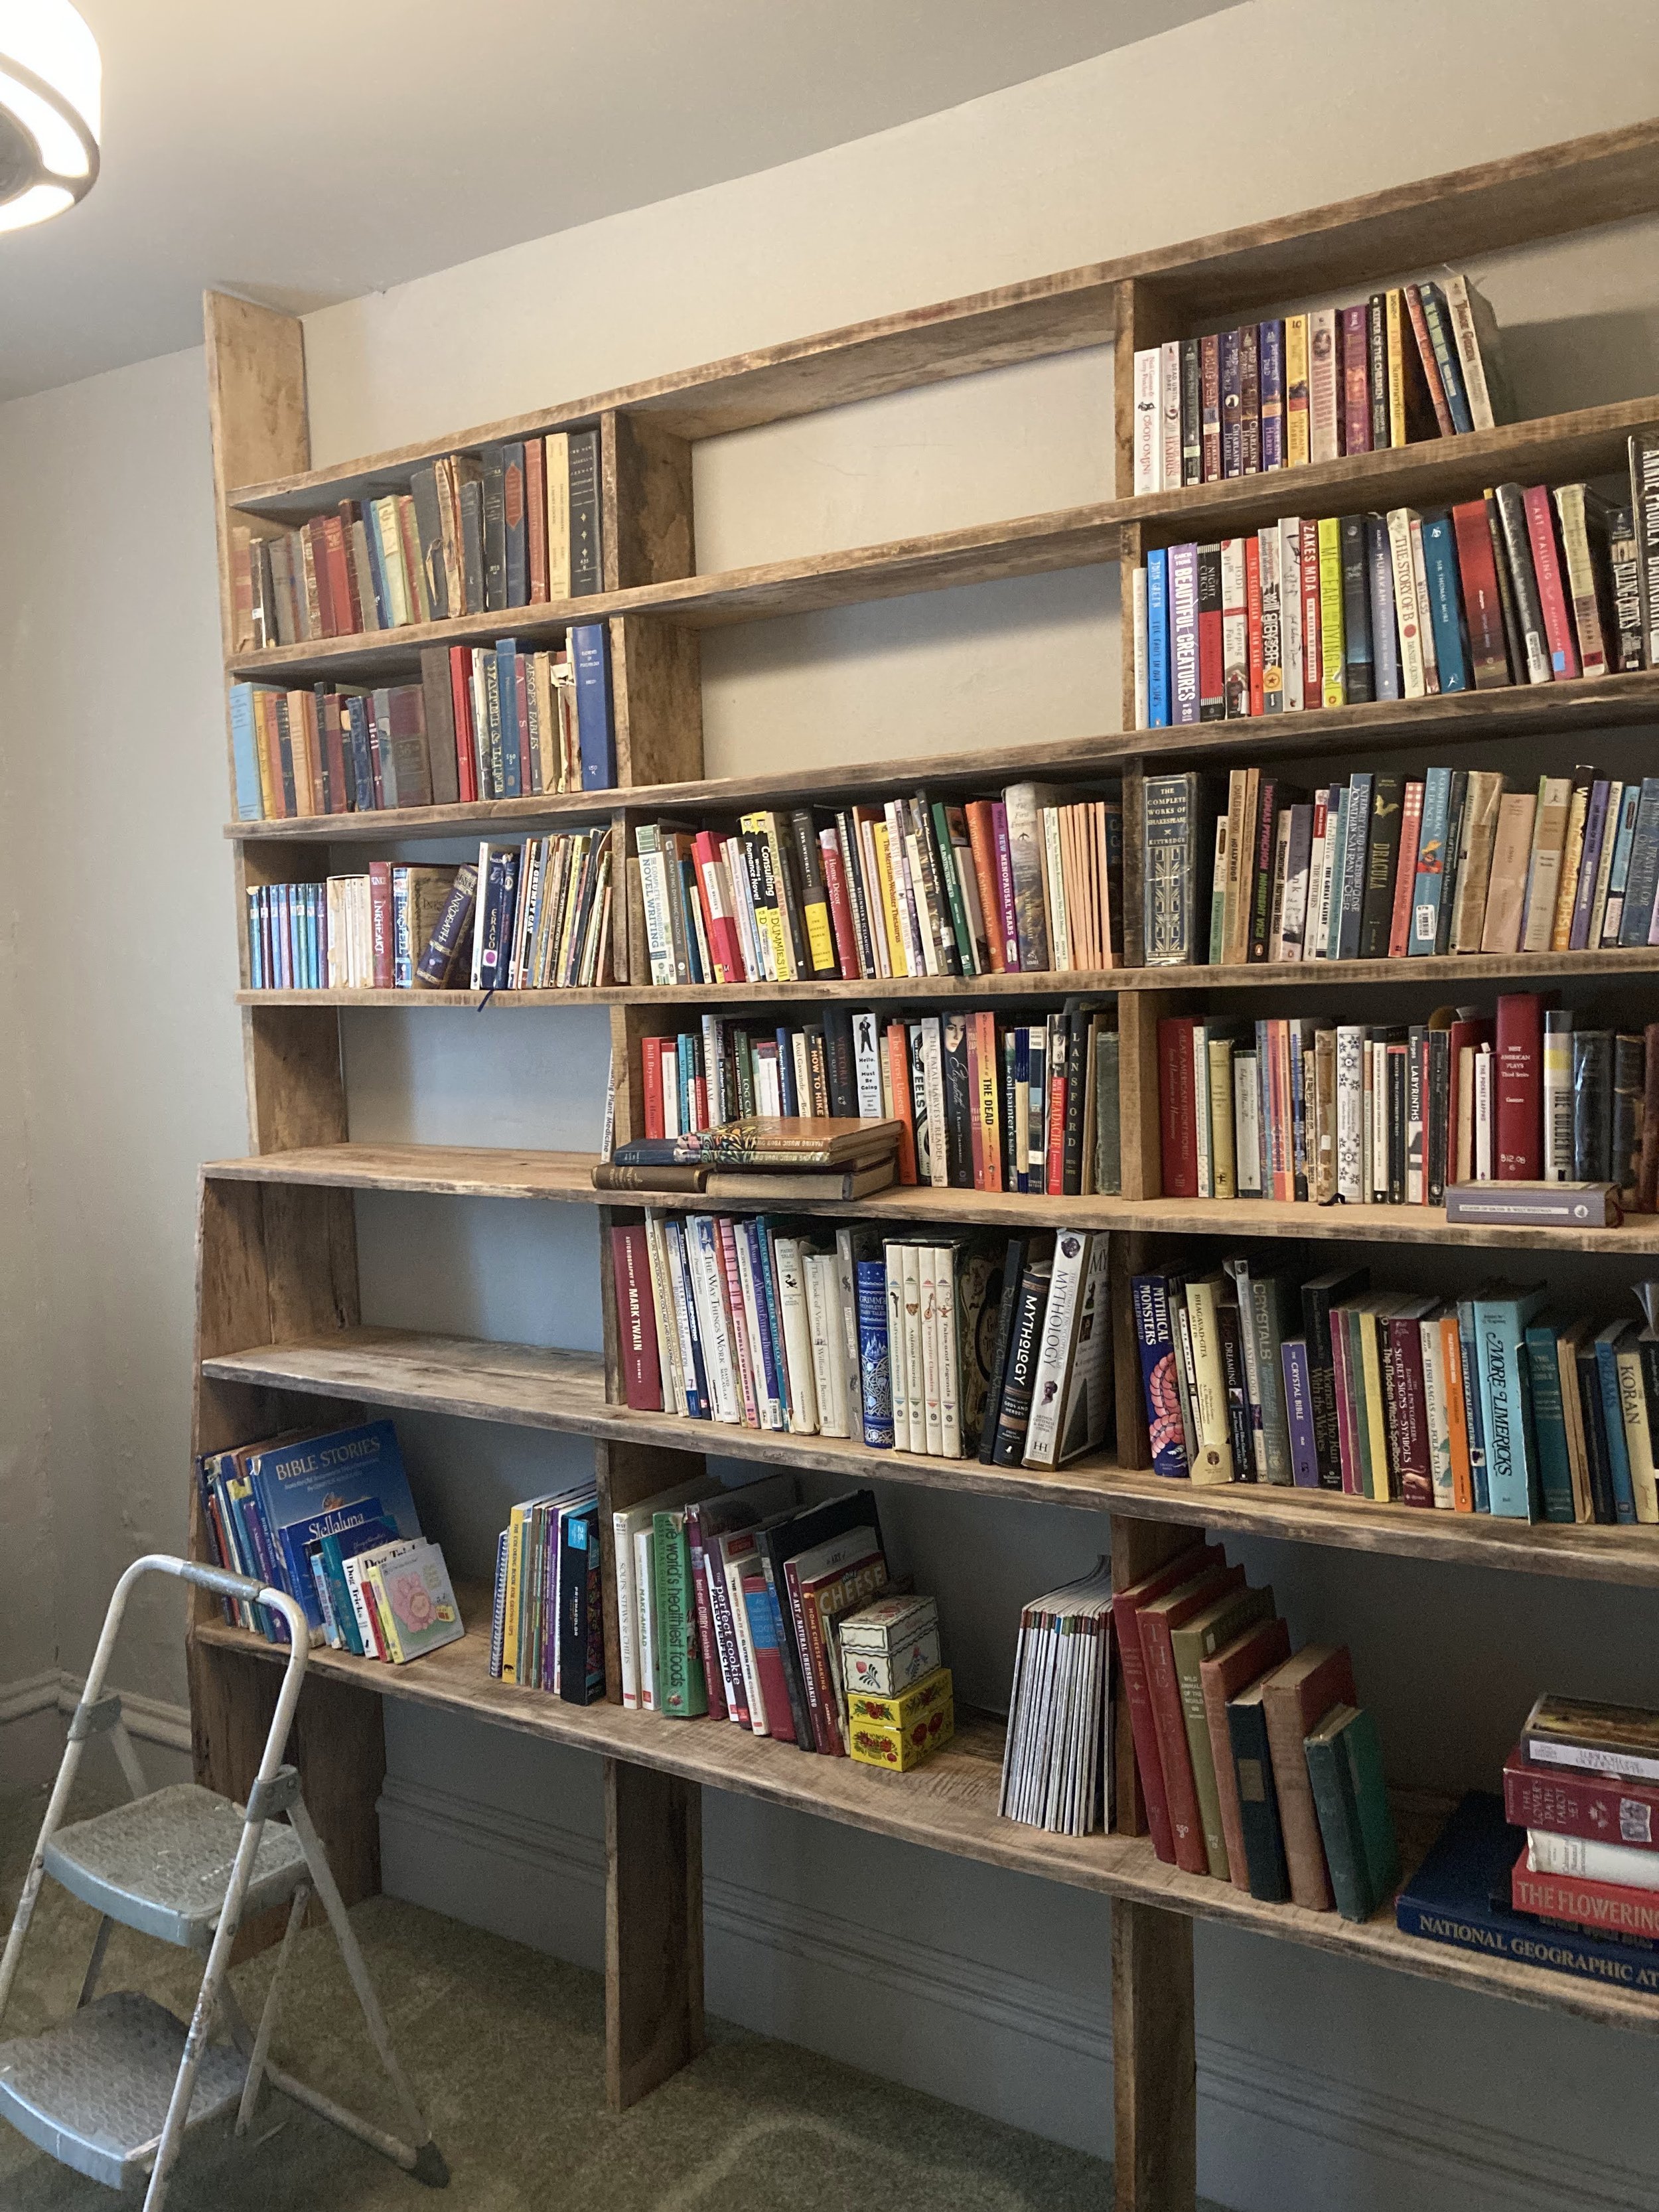
He is climbing it to prove to me that it is sturdy and will not fall down or through the floor once we add books. Yesterday, we brought home all of our artwork and framed photos and pretty much filled the remaining space in the study with them. Now when we have a lousy weather day, we can have an art-hang day! But for now, they’ll just sit and wait, because Winter is coming, and we’ve got things to do!
Here is another cool thing Kevin did: He took the old wood from the outbuilding back wall:

And turned it into the kitchen island frame for the back apartment! (It wasn’t yet done last time, so I had no pictures to show you. )Here it is, all assembled, sanded & sealed:

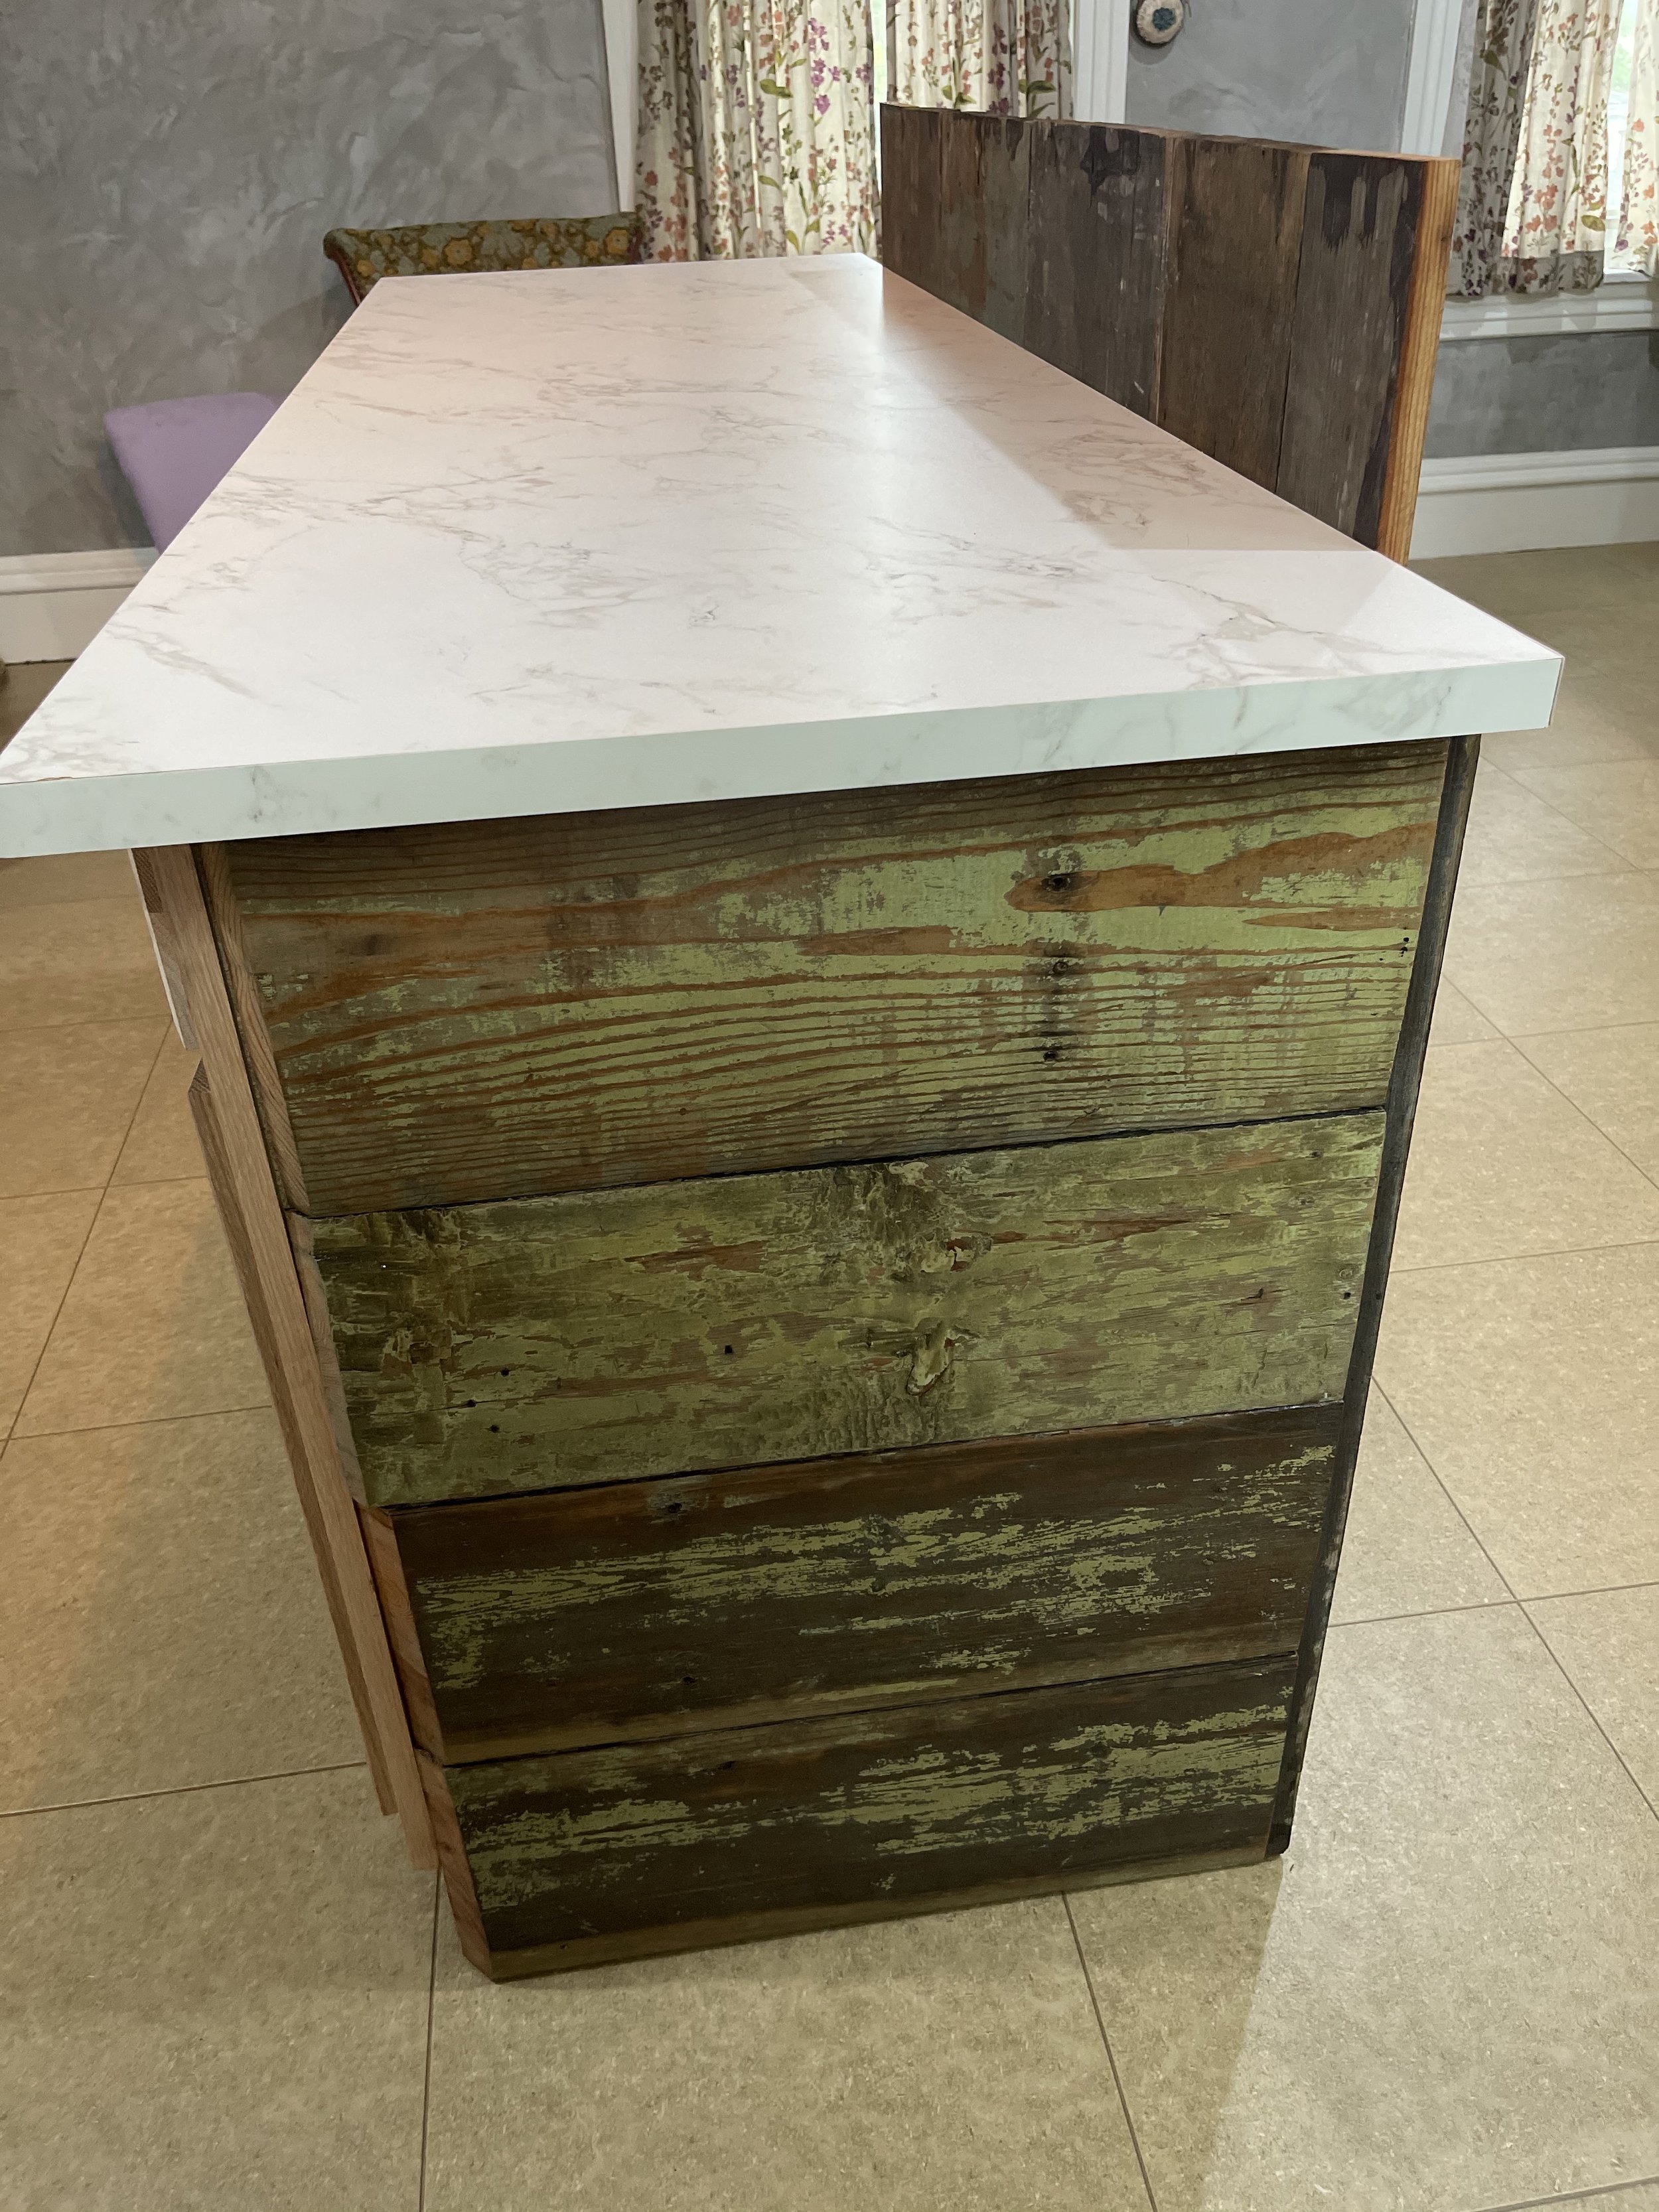
Super gorgeous, right?! (I swear it’s all flat on the back, the picture makes it look otherwise. Huh!)
Here’s my own personal little woodworking adventure: The oak front doors!


I started this project with the mantra, “It’s old, hon– s’posed to look it!”, once said to me by Lori the painter years ago. In other words, I am not going too crazy on making them look perfect and new, I just want to make them look beautiful again and I want them protected from the weather. So first, I sanded from 60 grit-150 grit:
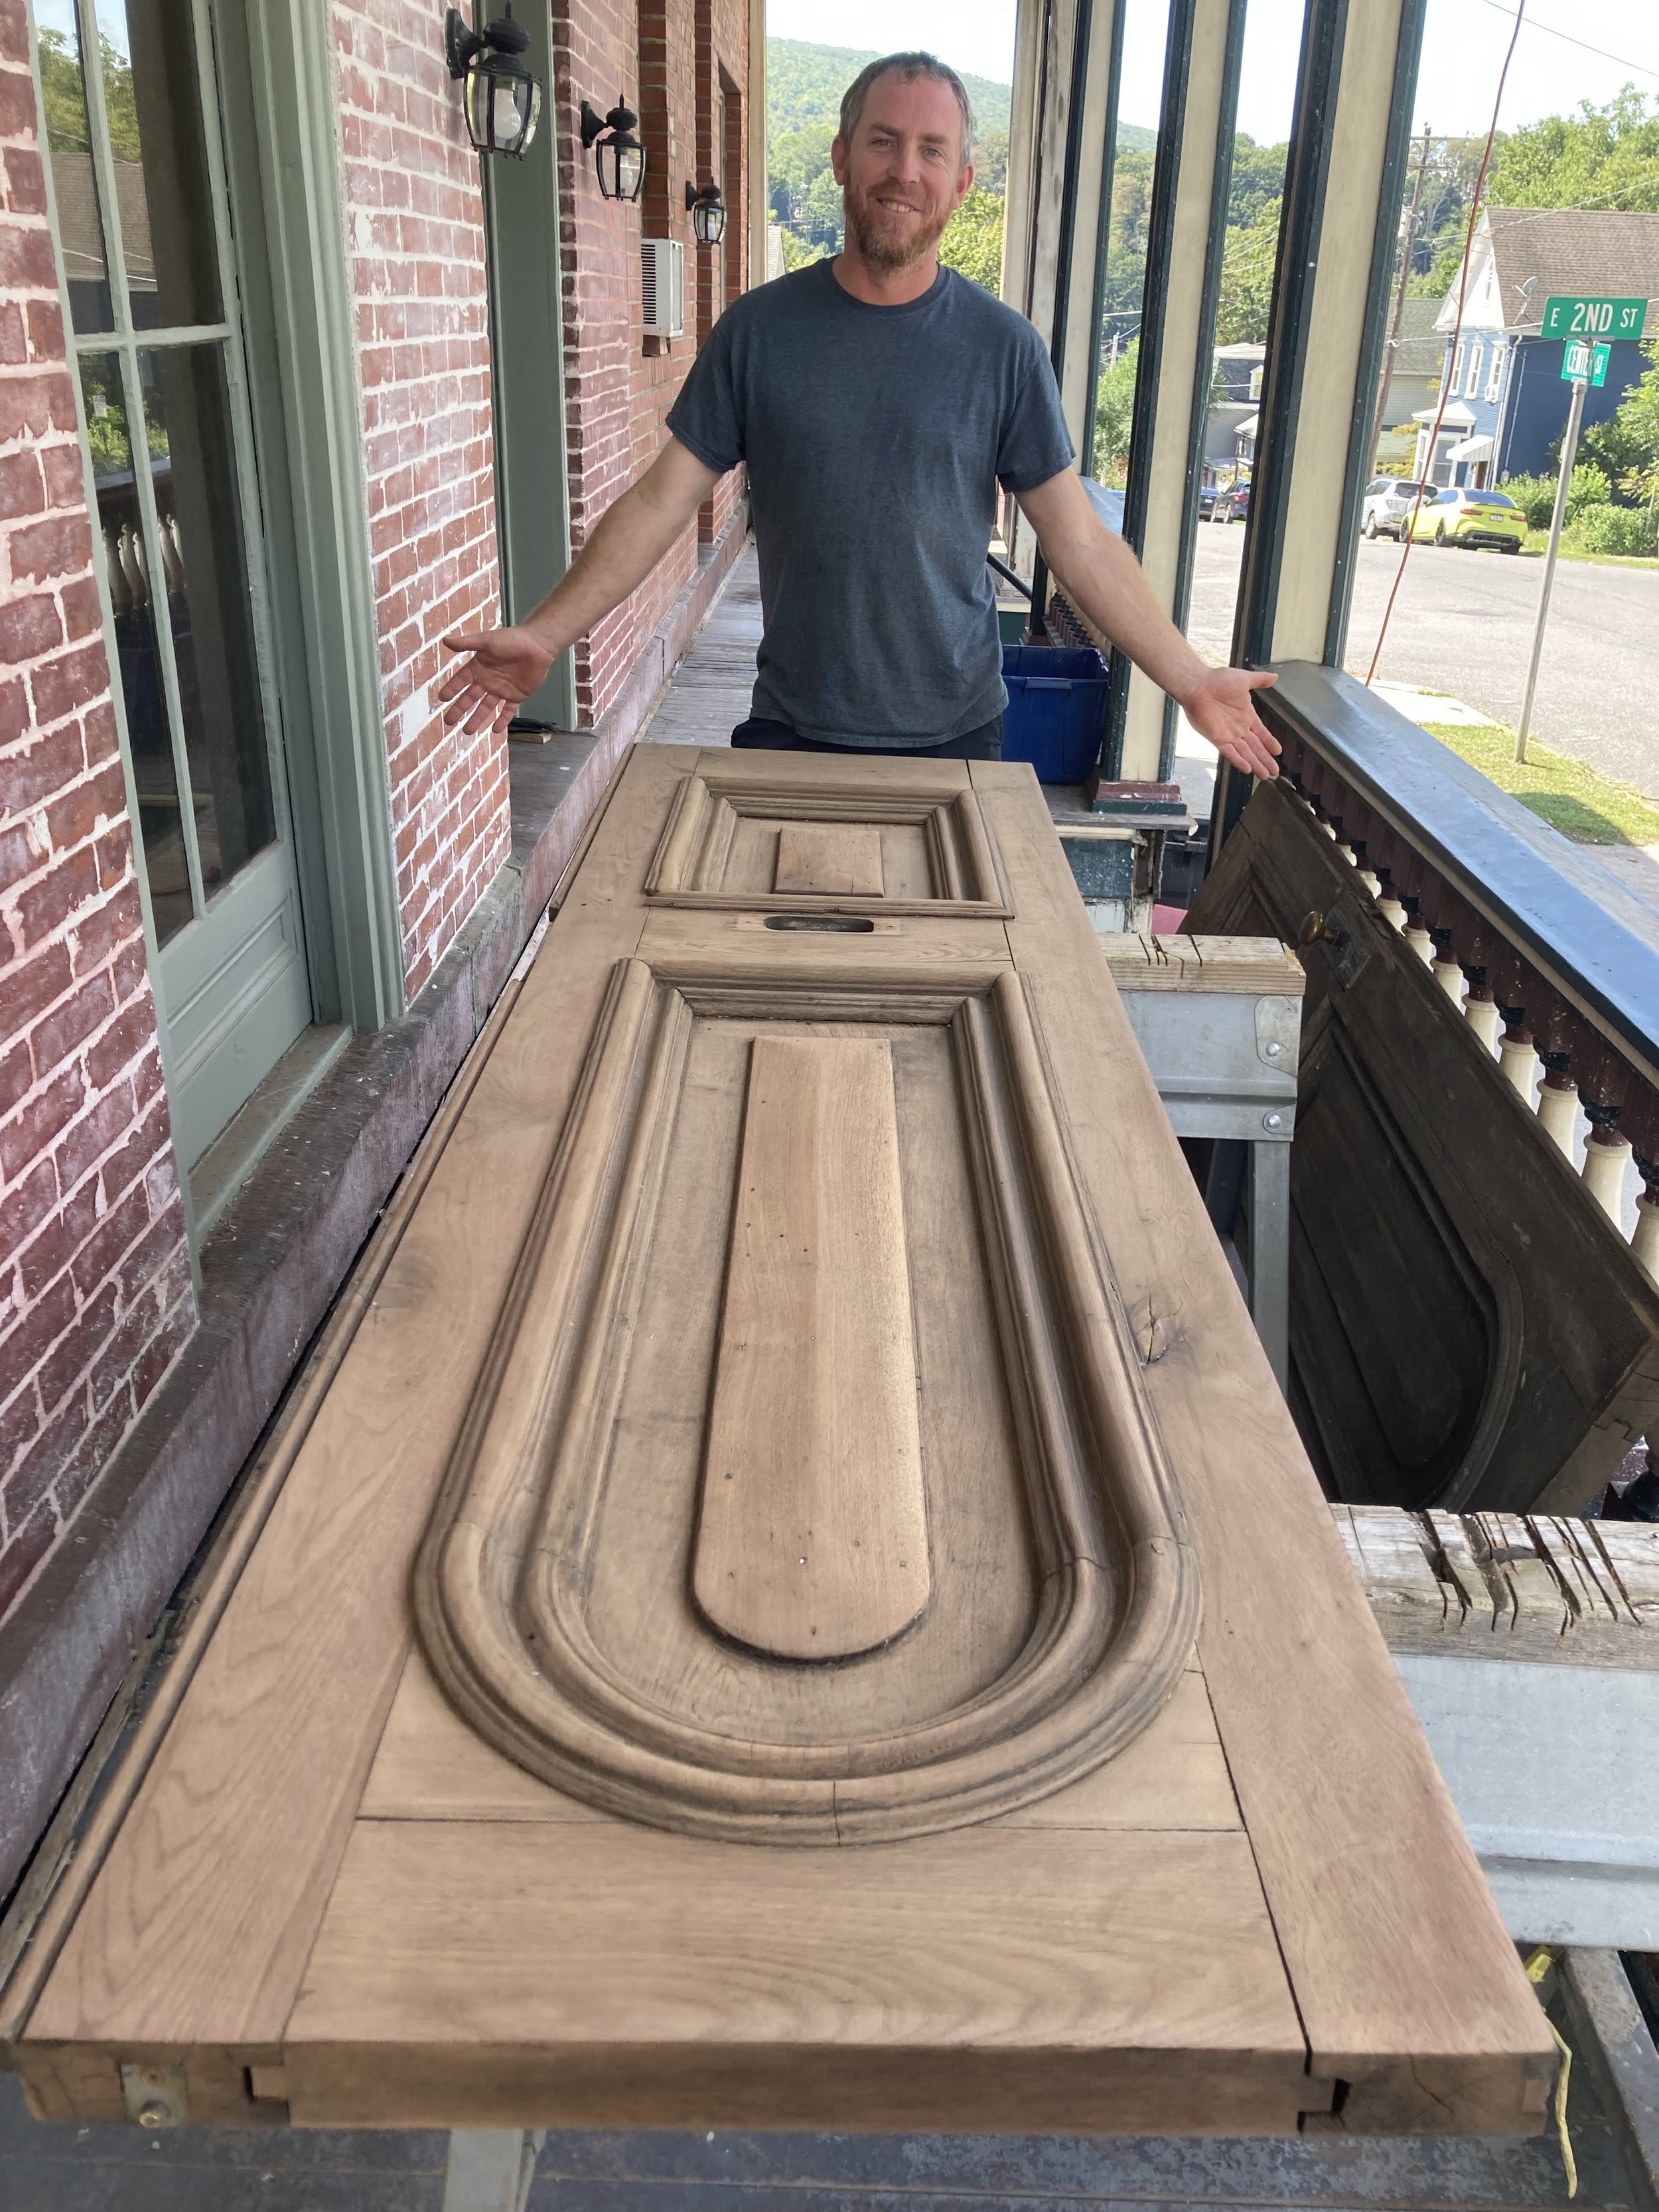
Kevin, pretending to take credit for all the sanding! I will give him credit for moving the doors around for me—these suckers are heavy!

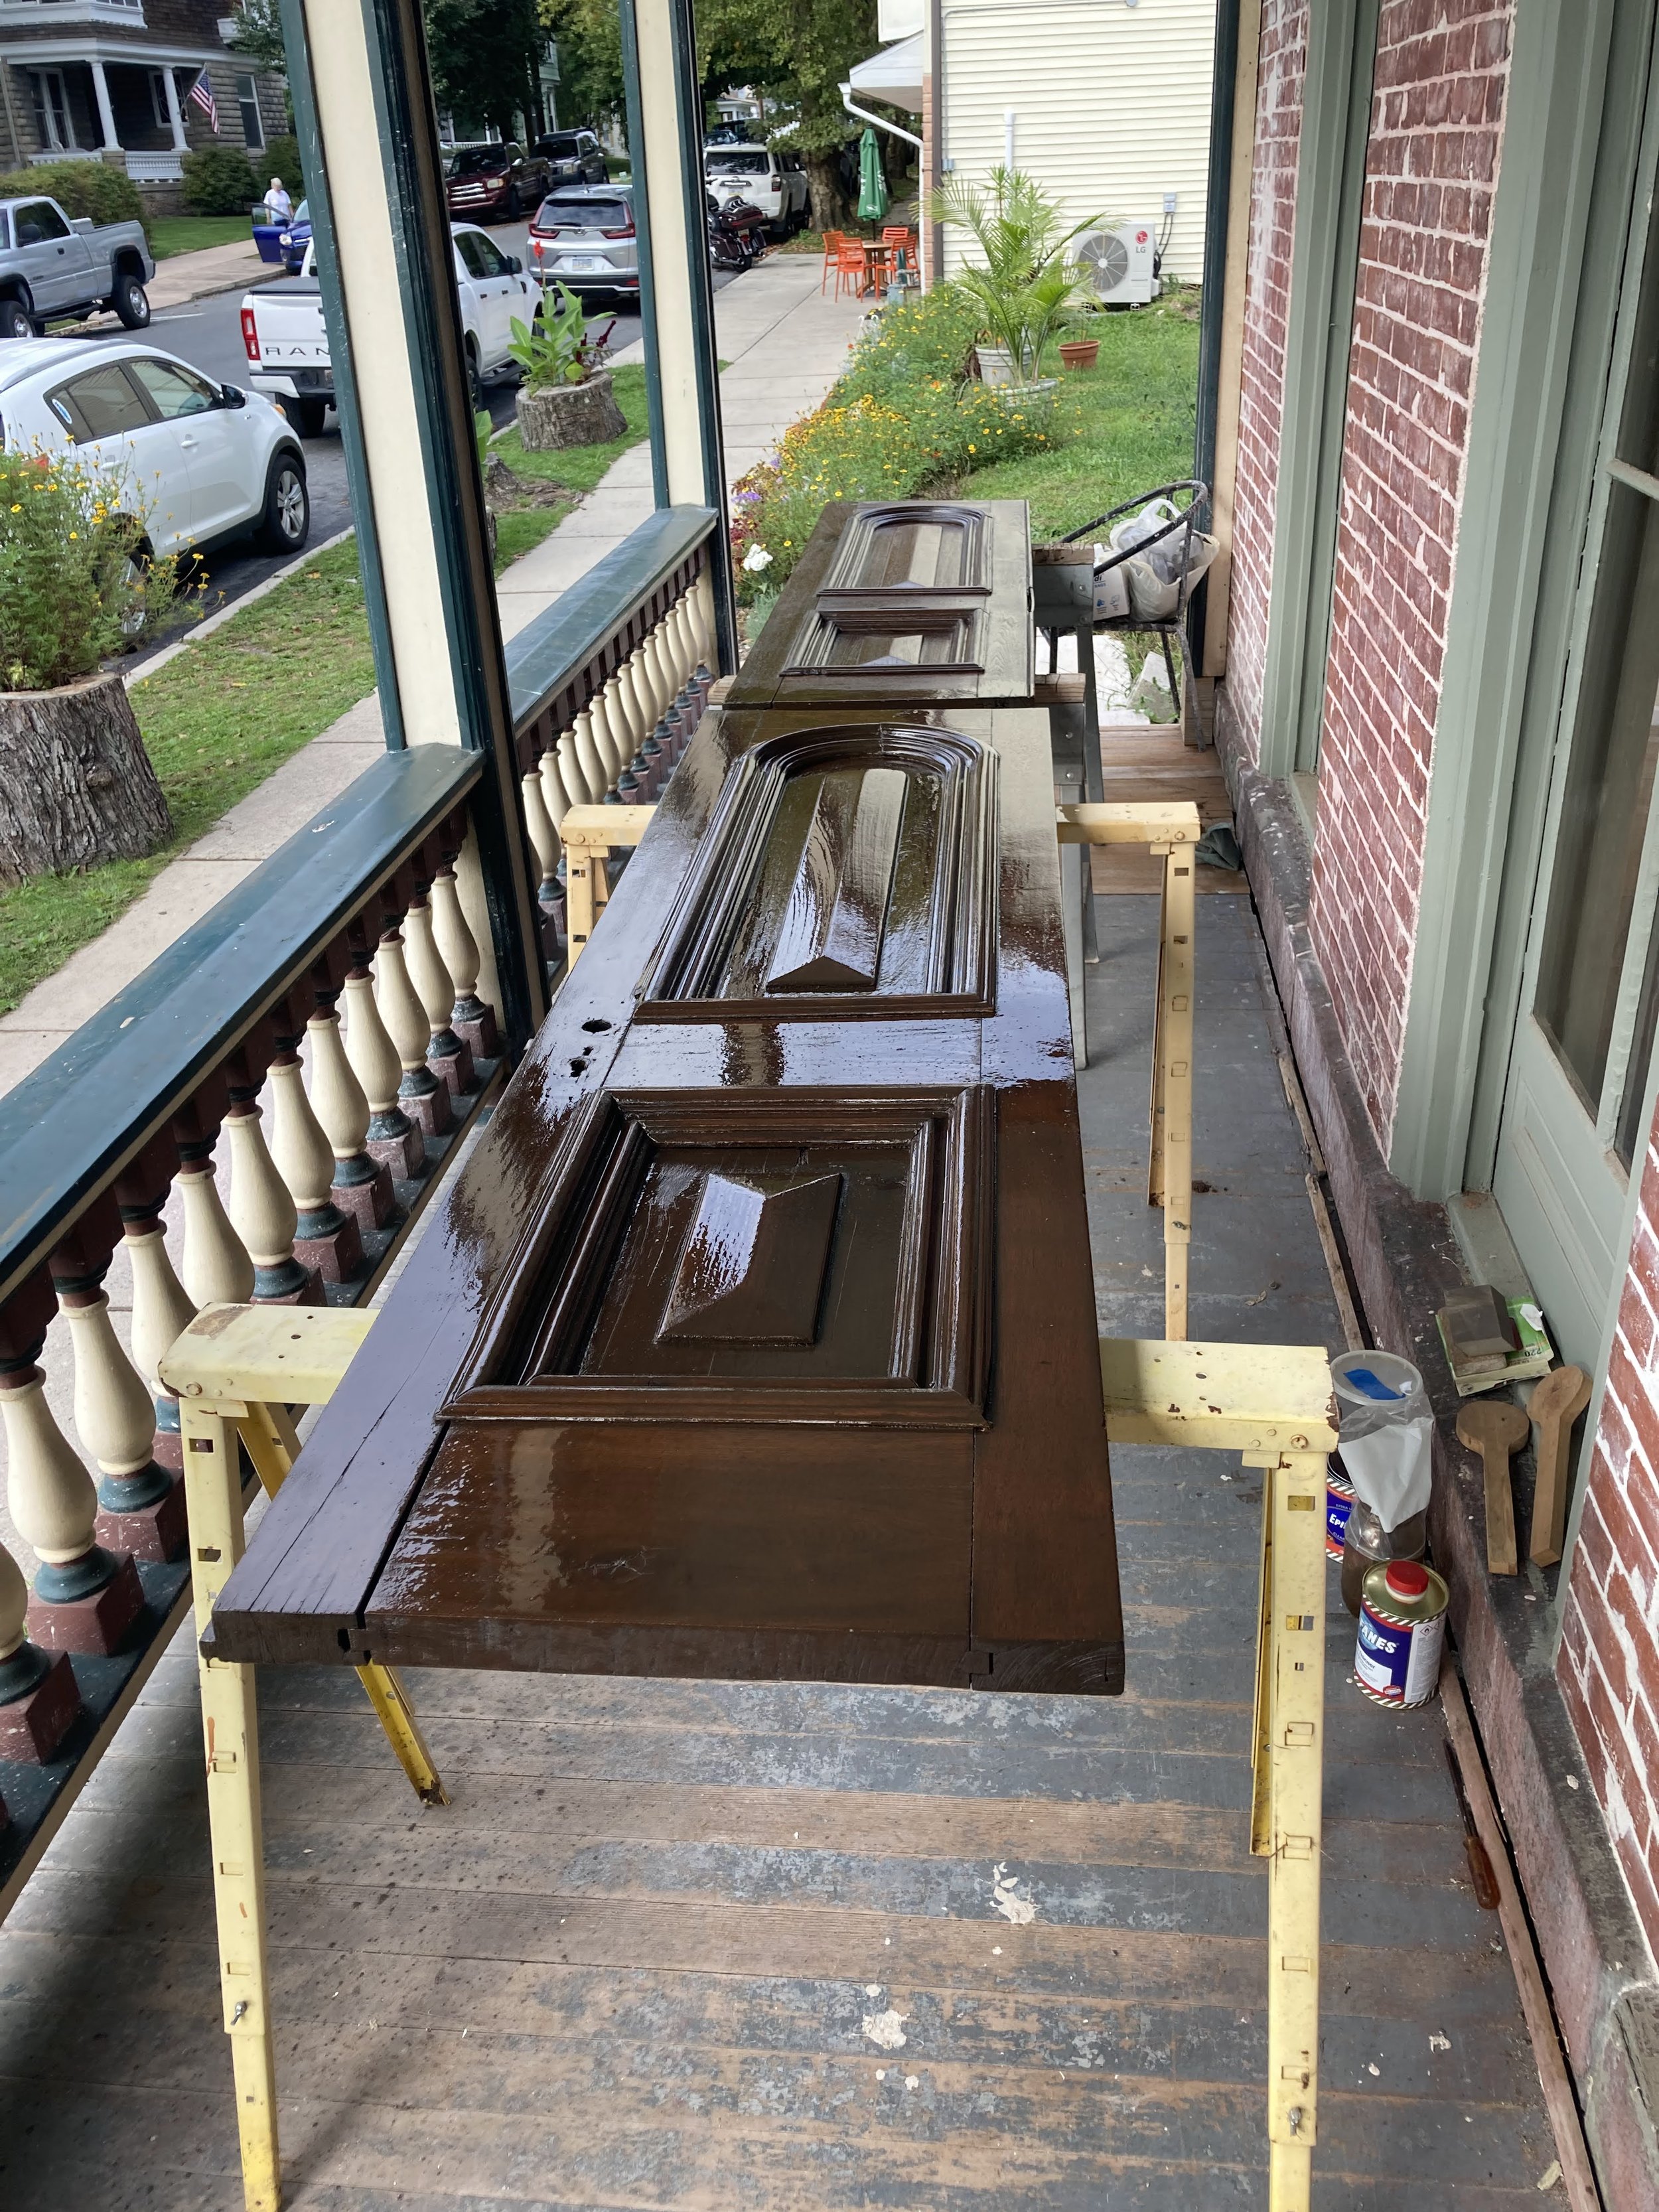
Then I stained them with General Finishes Gel Stain in Antique Walnut. Kevin was scared of the darkness at first, but I assured him I had spent hours deciding on the best stain color, and it would be PERFECT when it was done, and NO, we were NOT changing it now!(I may have been pretty emphatic about that, ha ha).


I then began the varnishing:


The varnish system I chose is Epifanes out of Holland. It’s apparently the most popular varnish for yachts, so why not doors? Originally, I got both the high gloss and the matte, and I was going to do a technique the internet taught me, where you use the high gloss first and matte the final coat to give it an old, hand rubbed kind of luster. But seeing how sleek they look as the first coats go on, I began to reevaluate the situation, and now we’re thinking high gloss is the way to go. Today begins coat two of the varnish. Coat one was at 25-30% varnish to 70-75% mineral spirits to give it a good soak-in. Coat two will be about the opposite ratio. After that, there will be at least two more additional coats at full strength, possibly three coats. Each coat on each side needs 24 hours to dry and has to be sanded before the next coat. It’s been taking FOREVER, but now I finally have two sets of horses, so at least I can do one side of each door at a time, so it will go twice as fast!
Last night after the work was done, Kevin and I went on a “door tour” downtown. If you happened to see us wandering around town staring intently at people’s entrance ways, that’s why! It was fun to see what everyone else was doing. In case you’re curious, nearly everyone paints their doors, and the few that are still wood are not very shiny. Here are a few gorgeous photos of doors from town from our friend, the absolutely incredible photographer Desha Utsick. She also has a section featuring Jim Thorpe, if you’ve never been here and want to see what all the fuss is about. If you do live here, check out her art show going on at Donerds Donuts & Wild Elder on Broadway this month!
What do you think? If they were your front doors, how would you finish them? A light lustery glow, or high gloss? Would you have gone as dark with the stain? or would you have avoided all this fuss and just painted them? Stay tuned next time for the actual final re-hung after!